


In the previous post, we learn what is MQTT and programmed a simple MQTT client.
Now I will show you how to develop a simple MQTT broker, that can accept all clients and show received message's from clients. So let's start with the definition of the MQTT broker and follow the steps below.
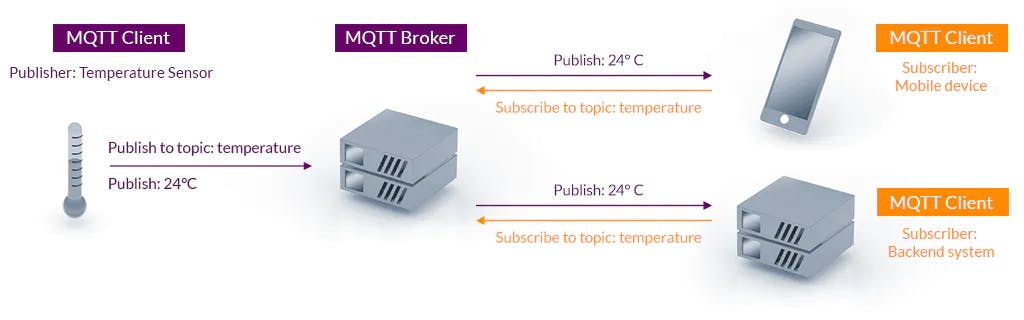
What is the MQTT broker?
According to Wikipedia:
The MQTT broker is software running on a computer (running on-premises or in the cloud) and could be self-built or hosted by a third party. It is available in both open source and proprietary implementations.
The broker acts as a post office, MQTT doesn't use the address of the intended recipient but uses the subject line called "Topic", and anyone who wants a copy of that message will subscribe to that topic. Multiple clients can receive the message from a single broker (one to many capabilities). Similarly, multiple publishers can publish topics to a single subscriber (many to one).
Each client can both produce and receive data by both publishing and subscribing, i.e. the devices can publish sensor data and still be able to receive the configuration information or control commands (MQTT is a bi-directional communication protocol). This helps in both sharing data, managing and controlling devices.
Code a simple MQTT broker
1) Create a project
We need to create a console project I use dotnet CLI to create a new project
dotnet new console --name SimpleMQTTBroker
Now We have a new empty project 😁.
2) Install dependency
For working in dotnet with MQTT, we need to install the MQTTnet package from NuGet.
dotnet add package MQTTnet --version 3.1.1
At this time last stable version of MQTTnet is 3.1.1.
3) Implementation
Open Program.cs.Add the below code.
using MQTTnet.Server;
using MQTTnet;
using System.Text;
using static System.Console;
// Create the options for MQTT Broker
var option = new MqttServerOptionsBuilder()
//Set endpoint to localhost
.WithDefaultEndpoint()
//Add Interceptor for logging incoming messages
.WithApplicationMessageInterceptor(OnNewMessage);
// Create a new mqtt server
var mqttServer = new MqttFactory().CreateMqttServer();
await mqttServer.StartAsync(option.Build());
// Keep application running until user press a key
ReadLine();
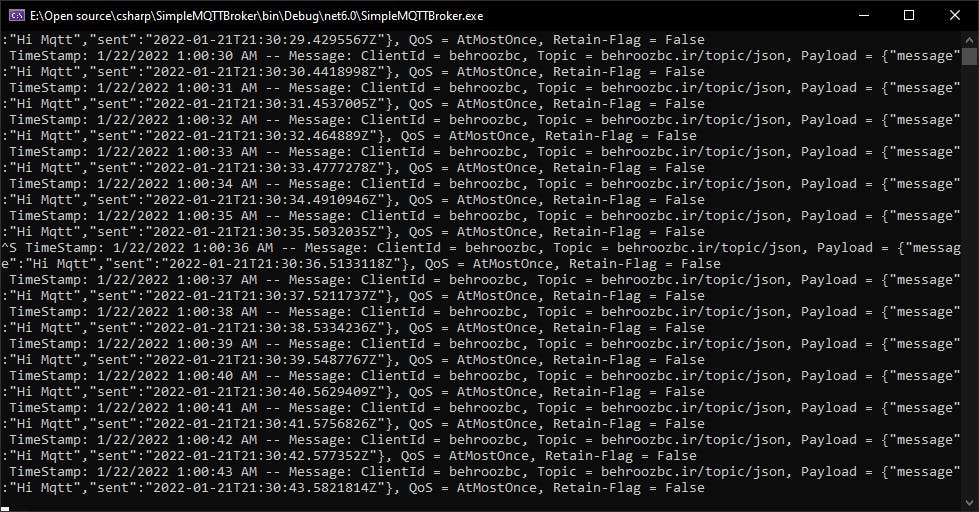
static void OnNewMessage(MqttApplicationMessageInterceptorContext context)
{
// Convert Payload to string
var payload = context.ApplicationMessage?.Payload == null ? null : Encoding.UTF8.GetString(context.ApplicationMessage?.Payload);
WriteLine(
" TimeStamp: {0} -- Message: ClientId = {1}, Topic = {2}, Payload = {3}, QoS = {4}, Retain-Flag = {5}",
DateTime.Now,
context.ClientId,
context.ApplicationMessage?.Topic,
payload,
context.ApplicationMessage?.QualityOfServiceLevel,
context.ApplicationMessage?.Retain);
}
By default, the MQTT without encryption uses port 1883. If you want to change it, use the code below
// Create the options for MQTT Broker
var option = new MqttServerOptionsBuilder()
    //Set endpoint to localhost
    .WithDefaultEndpoint()
    // Port going to use 5004
    .WithDefaultEndpointPort(5004)
    //Add Interceptor for logging incoming messages
    .WithApplicationMessageInterceptor(OnNewMessage);
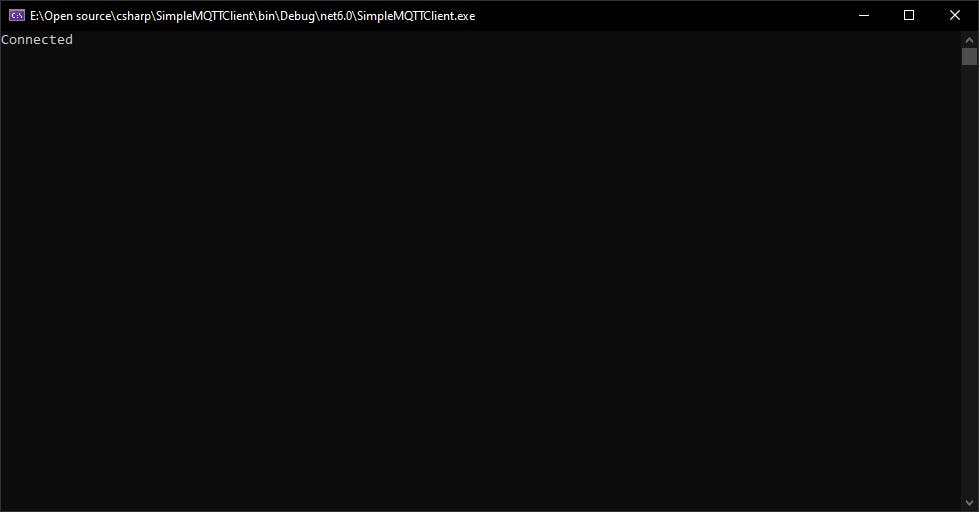
Now you can test the MQTT client we develop and the MQTT broker
 MQTT Broker
 MQTT Client
Note
In this post, We see how can develop an MQTT broker. I hope it was useful. you can see the full code on Github.
See other posts on the blog about MQTT and IoT.
If you’re still not sure or have questions about it what to do, or if you got any errors, then I suggest you use the comment section below and let me know! I am here to help! Update The MQTTnet version 4 was released, and you can find this version sample and introduction on this link